How to Add Automatic Captions to Course Videos
Educational videos are packed with advanced terminology and may be hard to follow. That’s why it’s always better to create captions, preferably — in several languages.

Auto generate captions for lecture videos
Video courses are intended for the broadest audience, some of the viewers may be deaf or hard of hearing. Sometimes lectures are watched in public places where one can’t turn the sound on, or the instructor may use scientific terms unfamiliar to the student.
Manual video captioning, also known as transcribing, is a hard and tiresome endeavor. Usually, it takes at least four times longer than the recording itself. Not even mentioning that this work demands certain qualifications. Luckily, the Clideo tool can generate captions from a video automatically.
Follow three self-evident steps:
Upload a video lesson
Open Clideo’s Subtitle Generator in a browser. This tool works online, so you don’t have to download and install any software.

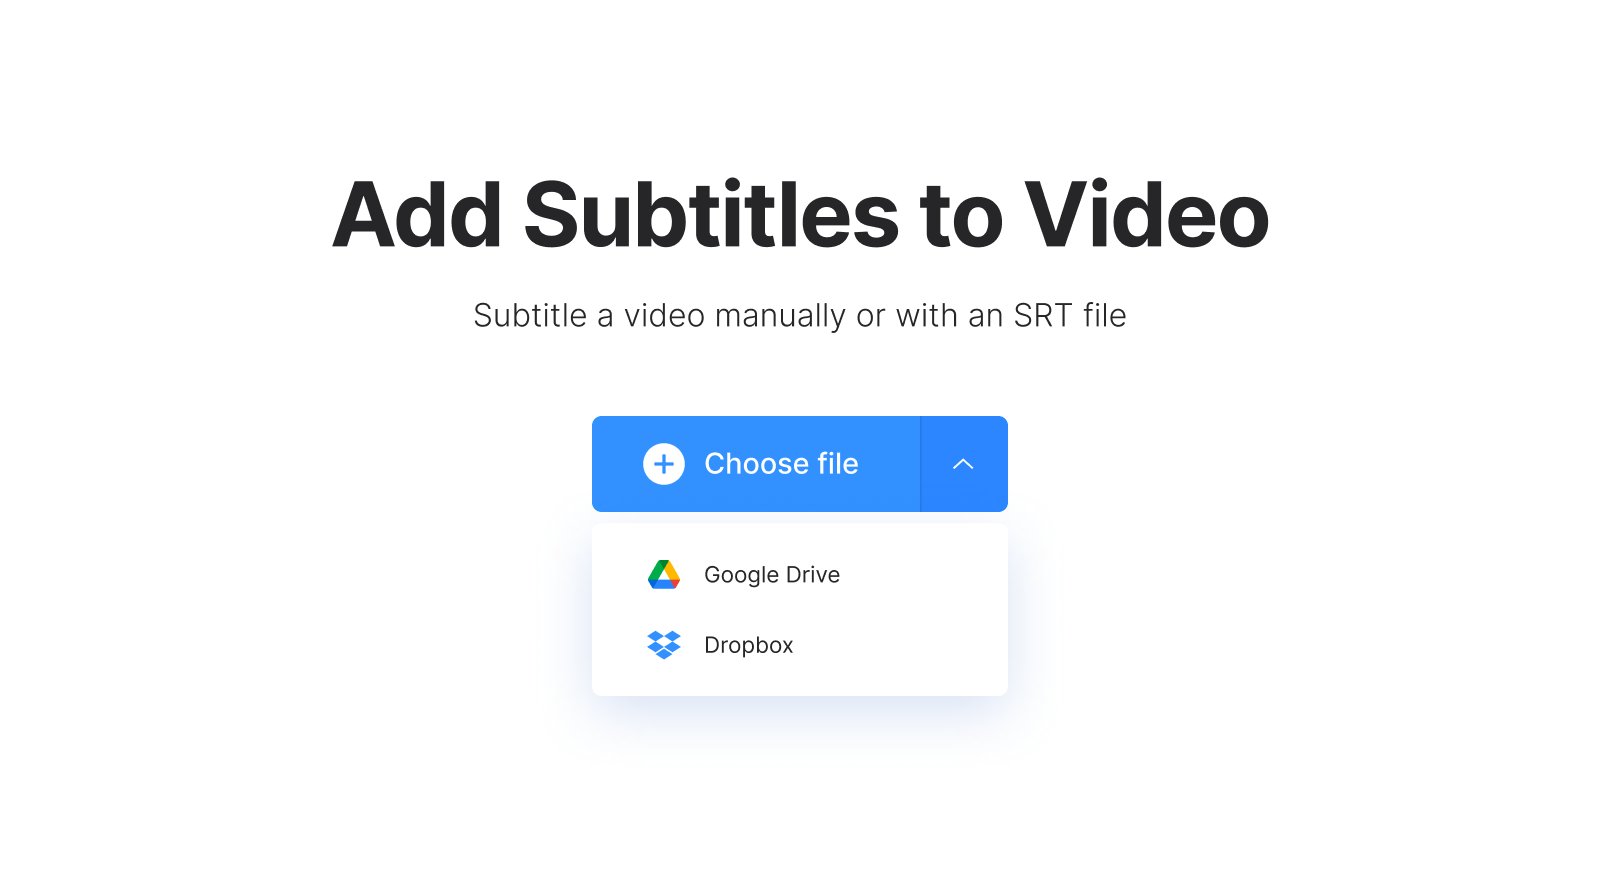
If you work on a PC, you can just drag and drop the needed file on the page. Otherwise, hit the "Choose file" button and pick up a recording from your device.
If your learning materials are stored on Google Drive or Dropbox, call the drop-down menu on the right side of this button and choose the cloud storage you need.
Auto generate and edit captions
As soon as the file is processed, you’ll see three options for creating captions. You’ll need the last one: "Generate automatically". Then select the language of the video and hit the "Generate" button. Be patient, closed captioning may take some time.

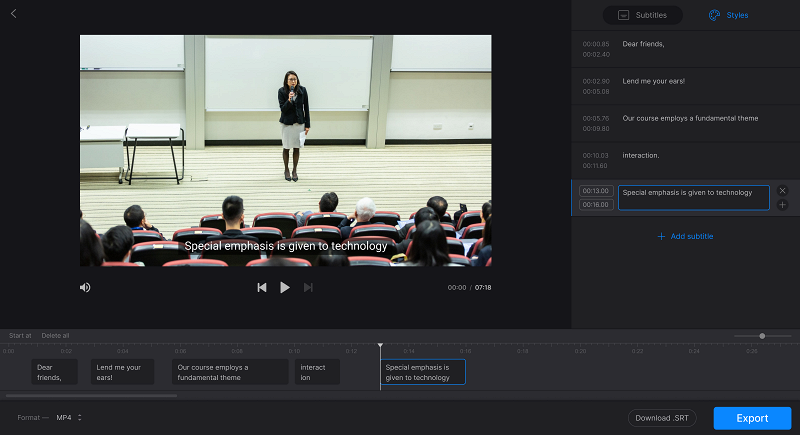
When you are transferred to the next screen, check if the program has recognized the soundtrack correctly. If the instructor is muttering or the sound is not clear enough, there may be mistakes in the subtitles.
To edit a caption, just click on it. To delete a subtitle, hit the cross in the top right corner of the section with the text. To change their timing or position, either drag them along the timeline or set the timestamps manually to the left of the text.

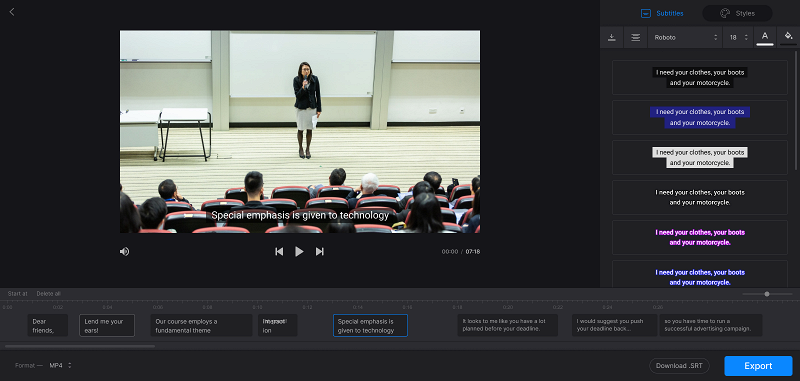
Click the "Styles" tab if you want to change the subtitles' font, size, alignment, color, and other settings. Don’t forget to choose an output format in the bottom-left corner of the screen.

Please note that the tool adds hard subtitles only. Hard subtitles are burned in, or hard coded, as an overlay over your video and cannot be turned off or on later in a player. However, you can always save the captions as a separate SRT file — this button is located at the bottom right of the screen, below the timeline.
When you are fully done, hit the "Export" button and give the tool several moments to finish its work.
Save the result
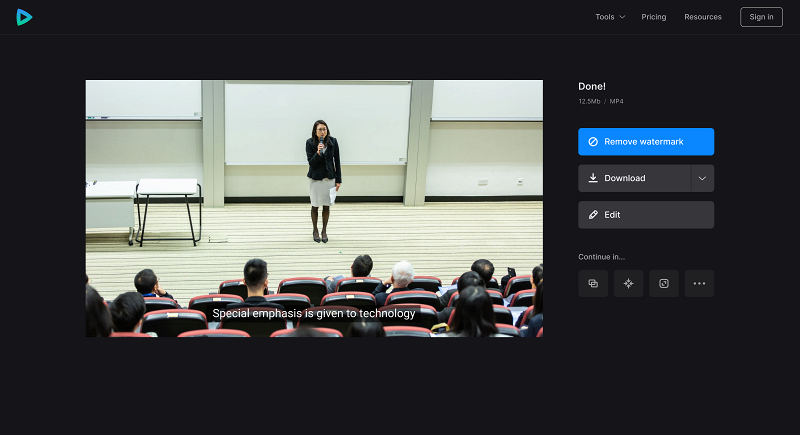
If you haven’t given your recording a final run at the previous step, you can do it now. Don’t forget, you still may edit your lesson without losing progress. Make sure you like what you see and save the project either to your device or cloud storage accounts.

We are regularly improving our tools to add new features or enhance your experience. Check our Help Center for the most recent instructions.


