How to Make a Picture Slideshow with Music on Mac
The most challenging task in making a slideshow on Mac or any other device is to find a tool that is able to merge not only video files, but also photos, GIFs and allows adding audio.

Create a slideshow on Mac in three steps
But you did it — meet Clideo’s slideshow creator!
In contrast with numerous applications and costly software, it works online, you don’t have to download or install anything. The whole process takes place in a cloud, not on your personal device, so it doesn’t make it run slow or lag. You can use the tool for free and even without registration if each of your files is up to 500 MB.
Keep reading and get to know the best way to create a slideshow on a Mac in three easy steps.
Upload files for your slideshow
Open Clideo’s slideshow maker for Mac in any browser. Make sure your internet connection is fast and stable as it influences the speed of file processing.

To use content from your personal device, just hit the big blue button in the centre of the homepage.
If you want to use the files stored online, call a drop-down menu on the right side of the pane, and upload visuals from Google Drive or Dropbox.
Create your Mac slideshow
Add more “ingredients” to your future clip by using the menu on the top right with the same options as at the previous step.

Choose the crop option: zoom and crop the frame or fit it with borders.
Decide on the needed aspect ratio: there are four the most popular presets used for Instagram, Stories, YouTube and Facebook.
If your Mac slideshow contains pictures, set the image duration from 0.1 to 60 seconds. This setting will be applied to all of them equally.

Tick the “Crossfade” box for a better frame transition.
If you want to add a soundtrack, hit the pane “Add audio” and upload a file from your personal device or any online source. Click on Scissors to trim it by moving sliders or setting the timing manually in the boxes.

Then adjust its volume. If the initial video has its own sound, mute it, or make quieter or louder.
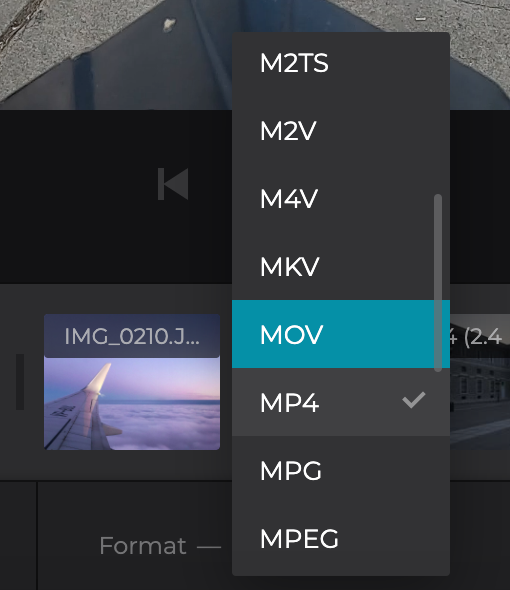
Finally, choose an output format. The tool supports about two dozens of different extensions, but if you are going to share your slideshow on social media, hit MP4 or MOV.

When you are all done, click on “Create” and let the service do its job.
-
Craft videos with easeSimple video editing to bring your ideas to life.
Export the slideshow
Play the project one more time to get sure that no corrections are needed. If you want to change something, click on “Back to edit”. If the slideshow is just perfect, save it to your personal device or cloud storage account.

We are regularly improving our tools to add new features or enhance your experience. Check our Help Center for the most recent instructions.


