How to Rotate a Video on iPhone
“Portrait” and “Landscape” are not only painting styles preferred by the Old Dutch masters. They are the types of pictures and video orientation in social media, also known as “vertical” and “horizontal” frames.

3 ways to rotate a video on iPhone for free
The majority of users loathe vertical videos – the image is “cut” with broad areas of “nothingness” on both sides (black bars), the viewer can’t get rid of the feeling that something really important and fascinating is happening right now somewhere out of sight. They are weird, awkward, and irritating, to put it briefly, vertical videos are next door to mortal sins.
The problem is smartphones tend to be clumsy, so it’s much more comfortable to record a vertical video holding a device with one hand and modify it later, before uploading to the Internet. The second problem is that not all social media platforms provide a rotate option; for example, Facebook doesn’t. Don’t despair! Keep reading and get to know three free ways to rotate a video on an iPhone.
-
Online Video Rotator by Clideo
A free online tool with a user-friendly interface.
-
Step 1:
Open the rotator and upload a file. Clideo is compatible with all the main video formats, including MP4, AVI and MOV.

To upload a video from iPhone or Android click the main button with a “+” sign and choose it. The site is accessible from a laptop/computer as well as from a mobile device, so you can save your record on the cloud and then rotate your iPhone video on a PC or Mac.
To import a video from Google Drive or Dropbox, click the arrow on the right side of the blue pane and choose the necessary option from the drop-down menu.
-
Step 2:
Rotate the video. Use “clockwise” and “counterclockwise” buttons; each click rotates a video 90 degrees.
Сhoose a final format – it may differ from the initial one. When everything is ready, just click “Rotate” and wait for the video to be processed.

If you want to cut, flip or edit the rotated video in any other way, Clideo has a wide range of proper tools for it. Our Pro members can open a result video in another necessary tool right away without downloading it once again.
-
Step 3:
Save the result. Easily save it to Google Drive or Dropbox, or back to your device.
To download the video to iPhone in Safari, copy the link and insert it to the address bar. You’ll see the window asking if you want to download or watch the video, click “Download” and it’ll be saved to your photo gallery.

-
-
Create videos instantlyFast, intuitive editing for every creator.
Apple Photos
Embedded Apple application, available in all the iPhones with iOS 13 or later versions.
-
Step 1:
Open Photos and tap on the desired video. Tap “Edit” in the upper right corner.

-
Step 2:
Then tap the crop and rotate sign on the bottom panel. Finally, tap the Rotate button — the second one in the upper left corner. Each tap rotates video 90 degrees.

-
Step 3:
Tap “Done” to save the result.
If you use older iOS versions, there is one more option on how to rotate an iPhone video.
-
-
iMovie
An iOS application for movie editing in an offline mode.
-
Step 1:
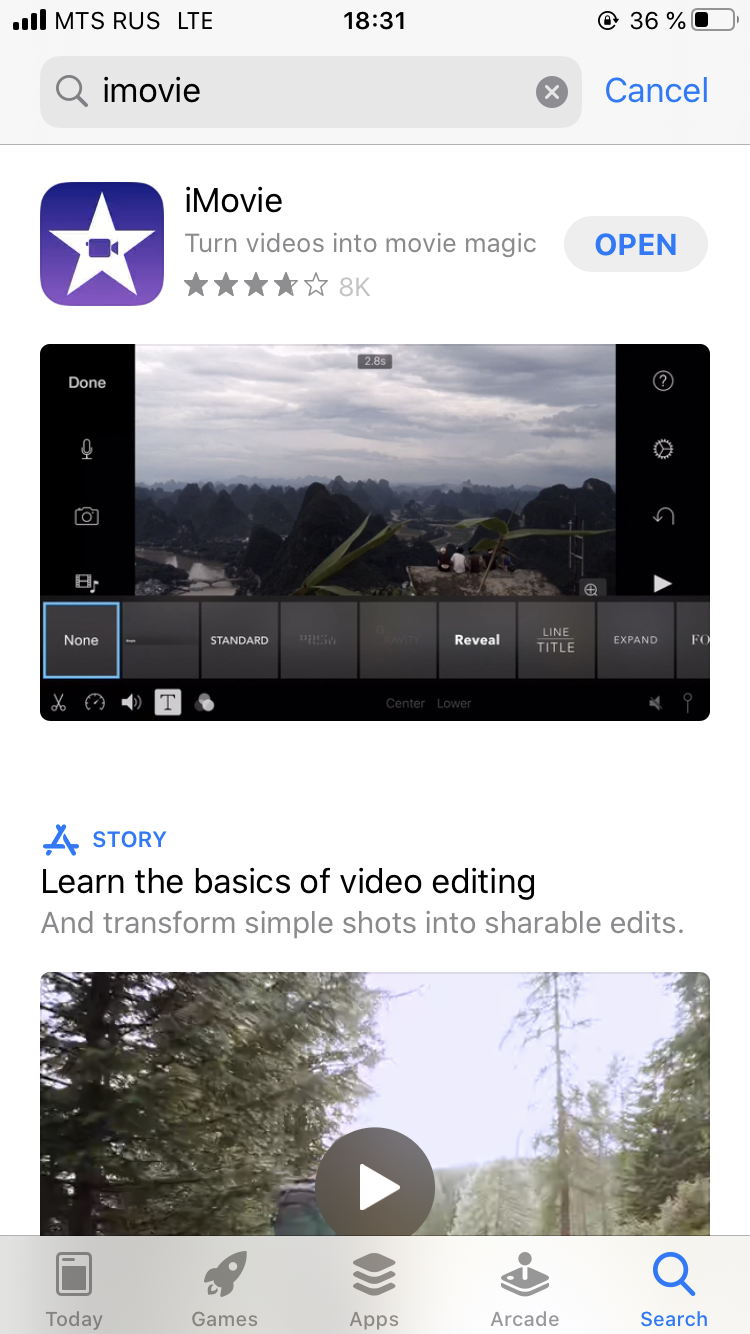
If you don’t already have the application on your iPhone, install it from the App Store, it’s free. Open it.

-
Step 2:
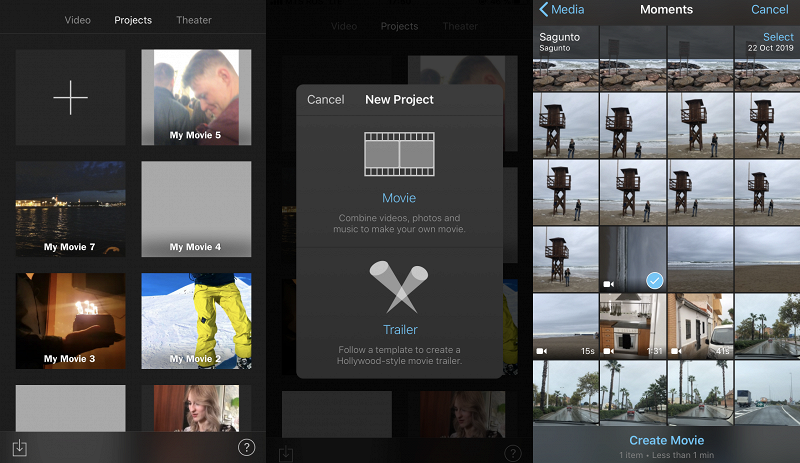
Tap a “plus” sign to create a new project, select “Movie”, and then import your video to the application.

-
Step 3:
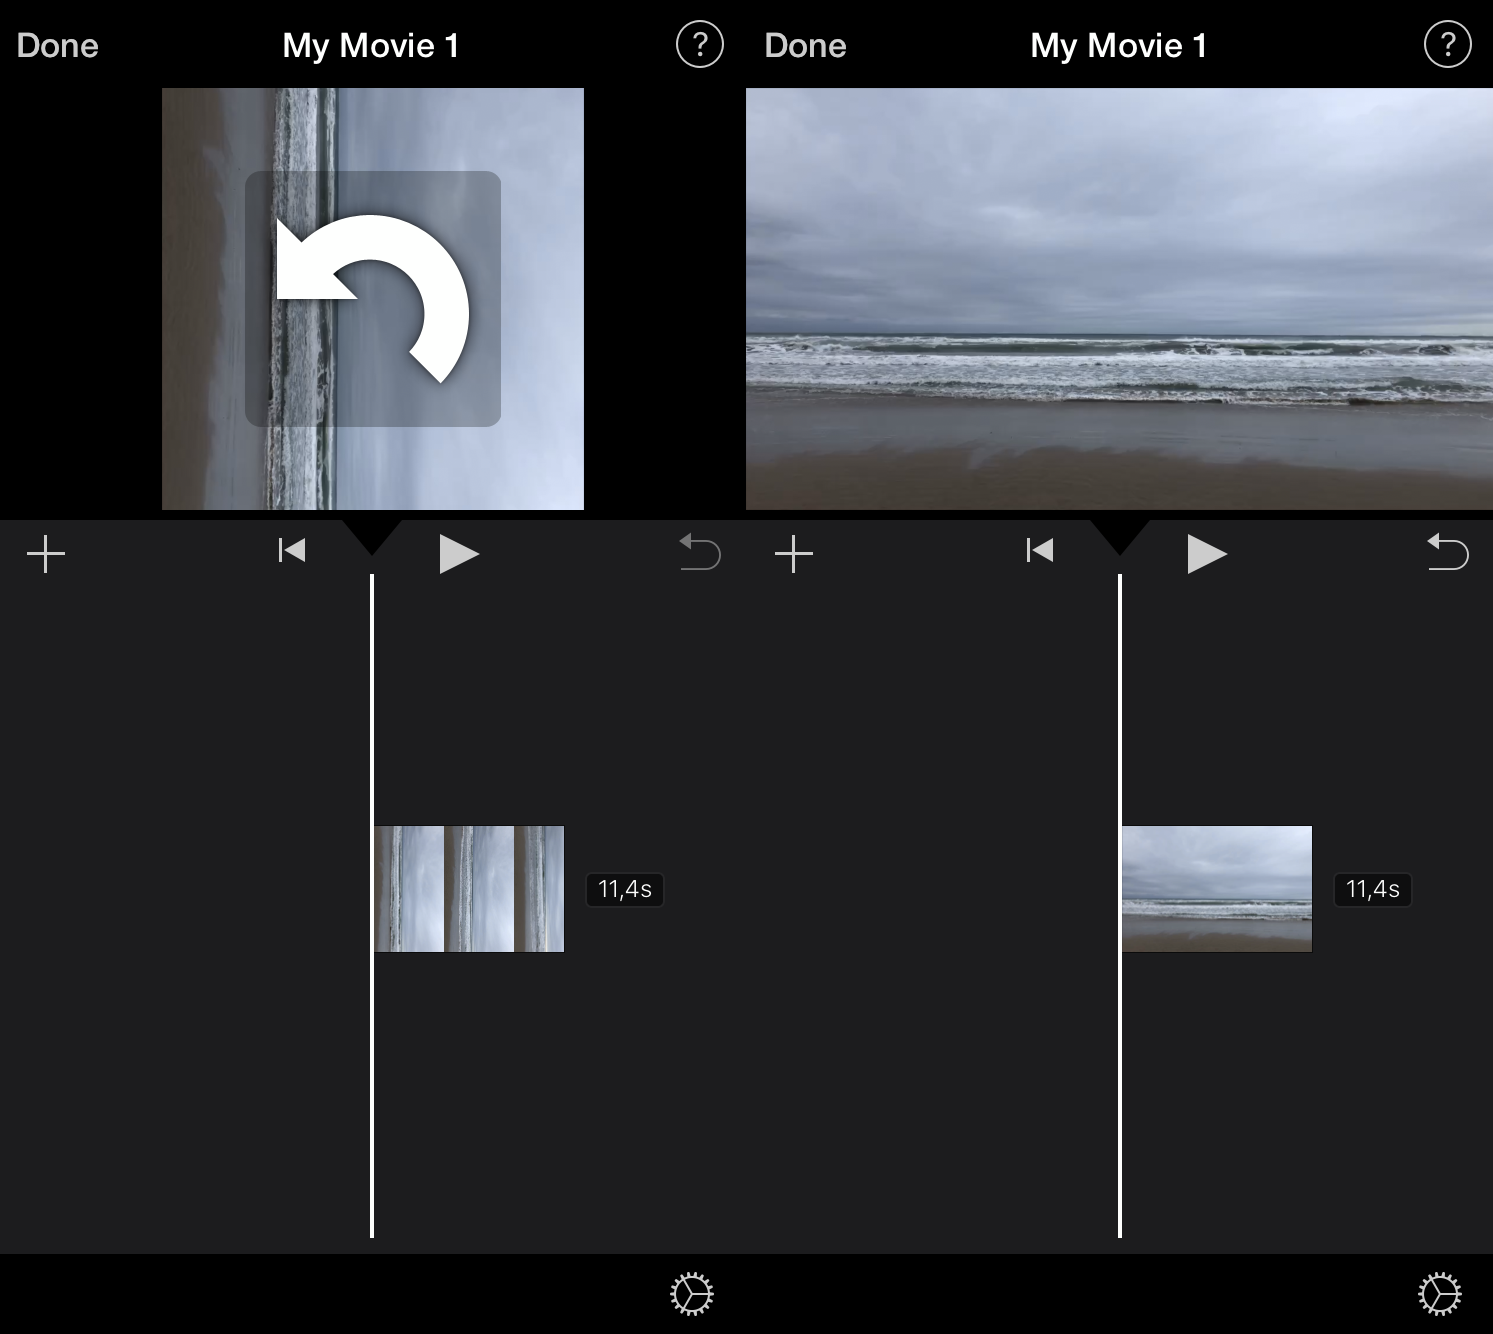
With two fingers tap and make a twisting move clockwise or counterclockwise over the video. When the white arrow appears, your video will be rotated 90 degrees. Click "Done".

-
Step 4:
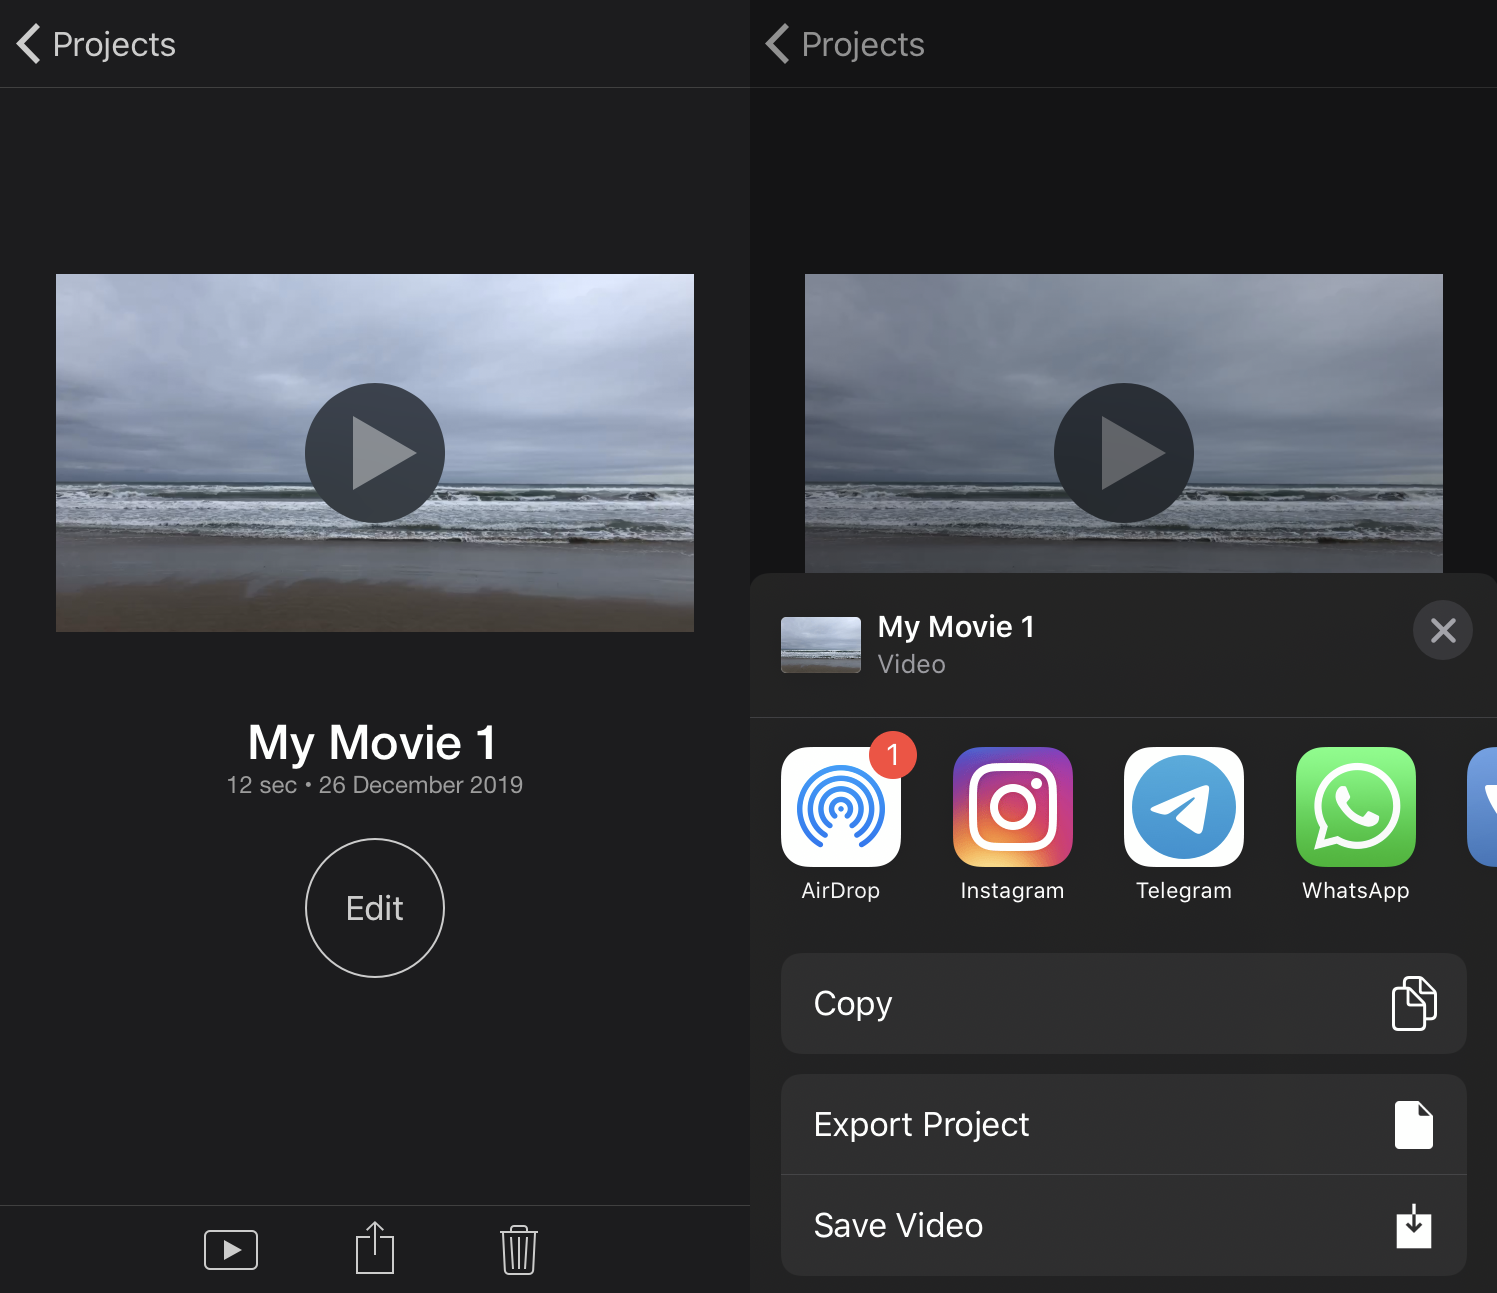
Tap the Share sign at the bottom and either save the video to your photo gallery or share to Instagram, Whatsapp, or other social media.

-
We are regularly improving our tools to add new features or enhance your experience. Check our Help Center for the most recent instructions.


