The Best Twitch Banner Size and How to Fit It
If you’re an avid Twitch user, you’ll be no stranger to the use of profile banners, and how important they are in attracting new viewers and creating a lasting impression.

What is the size of a Twitch banner
For those that aren’t aware, or need reminding, profile banners sit at the top of every Twitch channel. Acting as a cover image or profile header, the banner is the most prominent graphical asset a Twitch profile has and is used as a means to give context or summarise the characteristics or theme of that particular channel.
They, therefore, provide vital information to anyone viewing your Twitch profile at first glance. It comes as no surprise, then, that many top streamers have taken advantage of the banner’s branding potential by adding a custom image.
But is it possible for any old Twitch user to do this, too? It sure is!
And while it is totally up to you which picture, color, or font you choose, it is super important to have your Twitch profile banner size correct so that it is displayed correctly.
The recommended size for these banners is 1920 x 480 pixels. However, bear in mind that Twitch pages and your cover image will be scaled based on the width of each user’s browser window.
And so here’s how to resize any file to fit the size, in three easy steps, from the comfort of your web browser. It’ll work on any operating system and on any device, just as long as it has an internet connection.
Upload your banner image
To get started, head over to Clideo’s Resizer where you’ll be immediately greeted by the tool’s homepage. The near thing here is that the tool works completely online, meaning you don’t have to download any dodgy apps or software online.
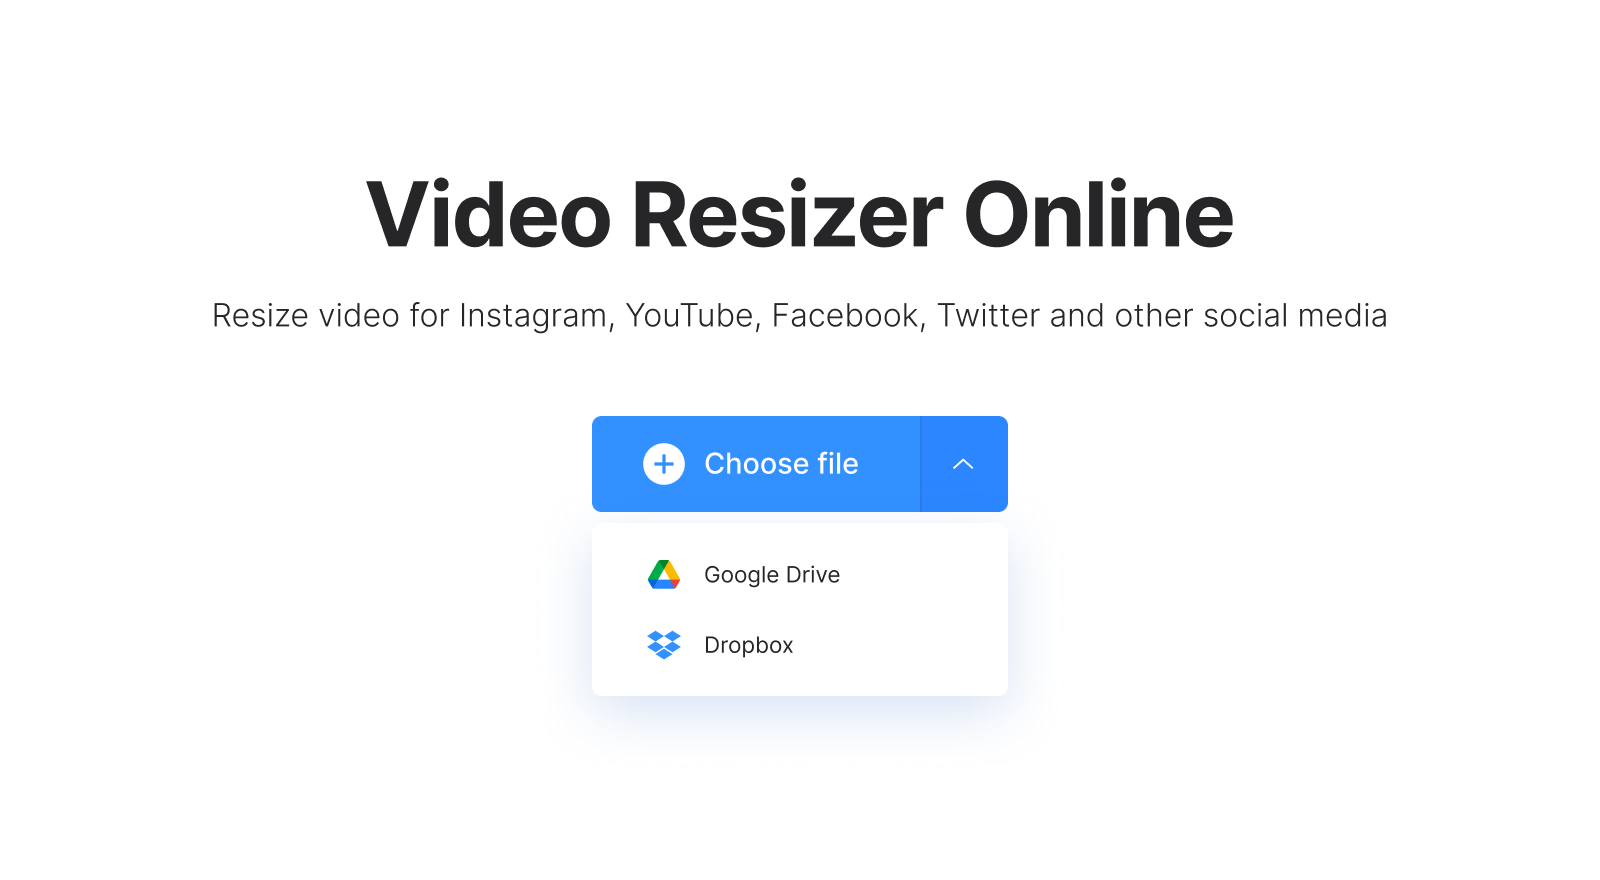
From here, select the image that you want to use for your Twitch banner by tapping the ‘Choose file’ button in the centre of the screen. The tool allowed you to upload files up to 500 MB for free.

Don’t have the picture you’re wanting to use stored on your device? No problem. You can add the file to the tool from a Google Drive or Dropbox cloud storage account by tapping the down-arrow on the left, which will enable a drop-down menu.
-
Create videos that inspireCreate professional-looking videos in no time.
Resize it
Once you’ve uploaded your image, you’ll be taken to the editor page. Under the ‘Resize for’ heading, be sure to select ‘Custom’, deactivate the chain sign between boxes and set the pixel amounts on the corresponding boxes to 1920 x 480.
Next, adjust how the image appears via ‘Crop Options’, which offers two ways: you can automatically ‘Fit’ the image to the post parameters so that all of it can be seen (this will add borders), or you can crop it without borders left.

For Twitch, we recommend the latter. To do this, simply select the ‘Fill’ option. And if you like, you can also adjust the photo within the frame via the zoom and position selectors, if needed.
Finally, tap the ‘Resize’ button and your new Twitch banner image will begin processing.
Download your fresh banner
Your new banner image should be ready in seconds. When it is, tap the ‘Download’ button and save it to your device. As before, you can keep it in the cloud and save it directly to your Dropbox or Google Drive accounts.

Need to make some changes? Tap the ‘Back to edit’ option to be taken to the editor without needing to start over.
We are regularly improving our tools to add new features or enhance your experience. Check our Help Center for the most recent instructions.


