What is a Jump Cut in Film
A jump cut is a video editing technique when some frames from a single sequential shot are removed.

What is a jump cut
As a rule, a viewer can easily notice the so-called jumps in the image, as the scene doesn’t appear as one continuous piece, but kinda abruptly leaps forward in time from one moment to another.
One of the classical examples could be found in the “Breathless” movie from Jean-Luc Godard, filmed in 1960.
The origin of jump cuts
The first jump cut was just an accidental discovery made by Georges Méliès, a French illusionist and film director. In 1896, his camera was slightly moved when shooting “The Vanishing Lady” short film and created an unexpected leap effect. He realized that this could be used to create magical disappearing tricks on-screen.
Later, this method was used by avant-garde filmmakers, and, in the 1960s, it became popular among French New Wave filmmakers, including Jean-Luc Godard, mentioned above. You can now find these skips in time in films of Guy Ritchie, Tom Tykwer, Steven Spielberg, and many others.
When to use jump cuts
This technique is in fact considered to be a violation of classical continuity editing, and usually it is suggested to avoid it. A viewer should not notice that the movie was filmed and edited. Everything should feel seamless and consistent.
The jump cut, on the contrary, foregrounds itself and can even be irritating. However, as this method draws such attention to itself, it is often used not only in movies but also in vlogs, music videos, YouTuber content to create certain effects and evoke specific emotions.
Most often this technique is used to speed up some of the scenes and show the passage of time. This could be done just for the sake of time-saving. However, it is believed that everything faster than our usual life mode becomes more interesting and even more persuasive. So next time when you see a jump cut, one after another, think about what idea the author is trying so hard to sell on.
Also, jump cuts amplify specific emotions in viewers. That could be the feelings of tension or anxiety, as well as comedic, horror, or magic effects.
The other reason, a more trivial one, to use this technique is to remove pauses, mistakes, skip all that was not so good. Many interviews, vlogs, or video recipes employ this method to make the visuals more engaging and hide awkward moments.
Jump cuts alternative
So if you decide to add skips in time to your recording, you will need to break your single shot with a cut or more. However, you can go the other way. For example, you can record a few small parts of the video and then merge them.
The last step could be done entirely online with the help of one of our free video editing tools. So let’s try to combine something.
Go to Online Video Merger and click the “Choose file” button to add your recordings. You can add one or several files from your device, whether it is Mac, Windows, or any other, as well as from your online storage account.
Once processing is over, you will see the preview and timeline with video thumbnails below. Drag and drop them to change their order.
To add a new recording, use the “Add more files” button or, right from the timeline, click “Add more videos”. To remove the parts you no longer need, select the thumbnail, and then click the X icon.

In the “Crop options” section, you can choose whether your films need to be zoomed and cropped or fit with the border. Also, it is possible to select the aspect ratio.
If you need to add some other soundtrack to your film, click the “Add audio” button, and then adjust the corresponding settings.

At the bottom, select an output format for your creation, or just keep the initial one.

Finally, click the “Export” button.
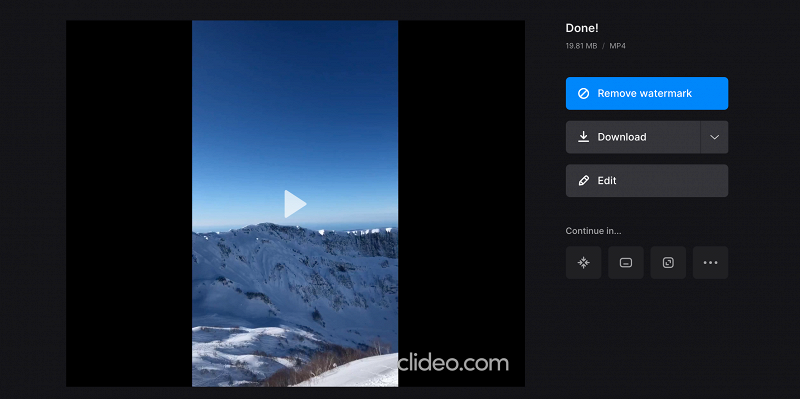
Your video is ready! Save it to your device, Google Drive or Dropbox if you like the result. If any changes are needed, just click “Edit” to make them.


We are regularly improving our tools to add new features or enhance your experience. Check our Help Center for the most recent instructions.


