How to Convert Image Sequence to Video
Sometimes you want to share a lot of pictures at once, and the best way to do it is to combine them into one video. Find out two ways to do it!

How to turn photos into video
Images are a very versatile media format. They can carry information both on their own and together, whether in a photo collection or a video made from multiple pictures. The latter is especially useful when you need to show a lot at once, and there are several options for converting images to video.
As such, you can use a video editor to turn your JPG or PNG files to MP4. The good thing about this method is that, depending on the editor’s features, you can create any type of video. For example, with the voice-over recording feature or the ability to add text and figures, you can make a video tutorial with pictures and explanations.
If that’s your go-to option, then our editing tool will help you out! With it, you can create videos from still images for free and even add some other pictures from the built-in image library. And it’s not hard to navigate:
Add images to Video Editor
Open Clideo’s Image Sequence to Video tool and click "Get started".

Then, upload files from your device or cloud storage. If you want to add pictures that are not your own, simply navigate to the "Images" section in the menu on the left and select any file you like.

Create an image sequence
Set the correct aspect ratio in the "Canvas" tab to make sure it looks good when playing on the intended device.

Then, arrange all the media files on the timeline. By selecting one or a few of them, you can adjust their properties: change opacity, brightness, and other color settings, trim, duplicate, set timing and duration, and so on.

You can also move the images right in the player, change their size, place them wherever needed, or overlay them.

Make sure you have the Ripple editing mode on before you start, as it will be helpful in case you’ll be doing a lot of trimming or removing some elements. With this mode enabled, the remaining parts automatically join each other, so you will have no gaps to delete manually. To turn it on, click its icon at the top right of the timeline.

If required, you can also include captions using the "Text" tab by selecting a suitable preset and adjusting their font, color, size, etc.

When you’re done with editing, click "Export" and choose your preferred export option.

-
Simplify video productionCreate and edit videos in your browser using our video editing tool.
Download the video
Check out the playback to see if you like how the result looks. If everything is fine, click "Download" to save it to your device or cloud storage. Otherwise, click "Edit" to make changes.

How to make a simple photo slideshow
Are you interested in making a more simple project? Then consider creating a slideshow in an image-to-video converter or slideshow maker. This is useful when you need to present many images in one video, for example, for memory albums, photo collages, or portfolios.
So, if you want to create a simple JPG or PNG sequence, you can use our Slideshow Maker to do it. And it won’t take long since the tool is very simple to use:
- Upload your photos – note that you can also add any more images later.
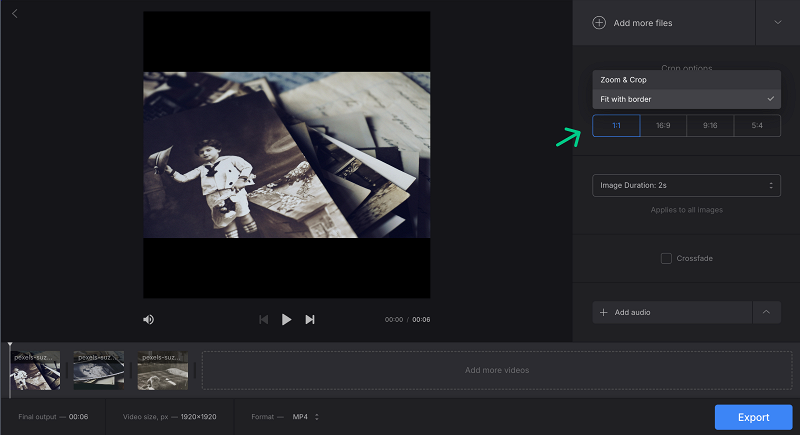
- If necessary, change the aspect ratio and choose another cropping option.
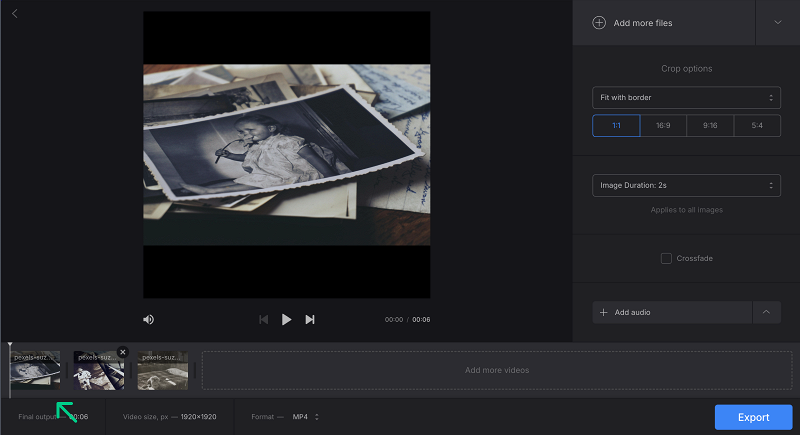
- Use the timeline at the bottom to drag the files and arrange them in whichever order you need.
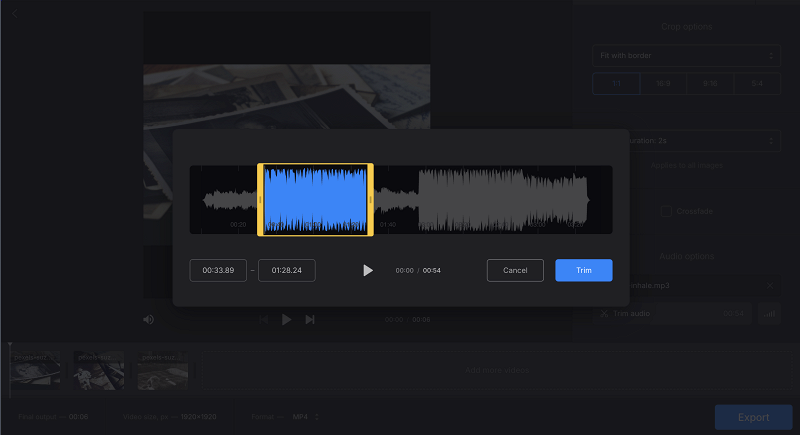
- Add audio. Upload your music and trim it or put it on repeat, as well as change the volume level.
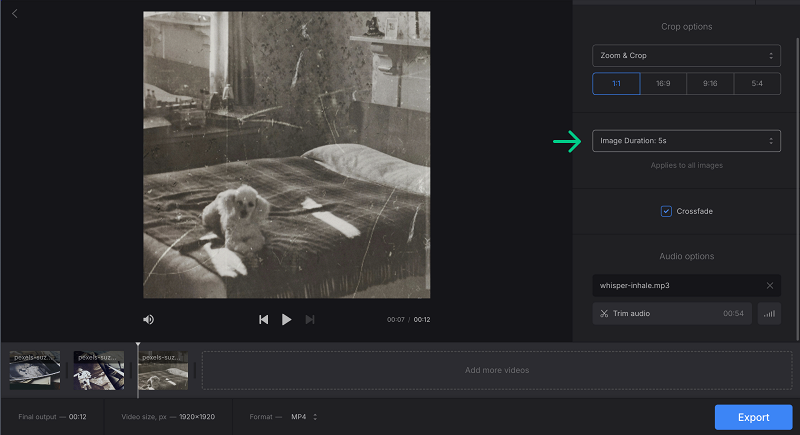
- Set the display duration for each of the photos. This setting will be the same for all the images in your video. So if you have numerous photos and you want each photo to be displayed for 5 seconds, you can accomplish this with just one selection.
- Export your simple yet sweet slideshow.

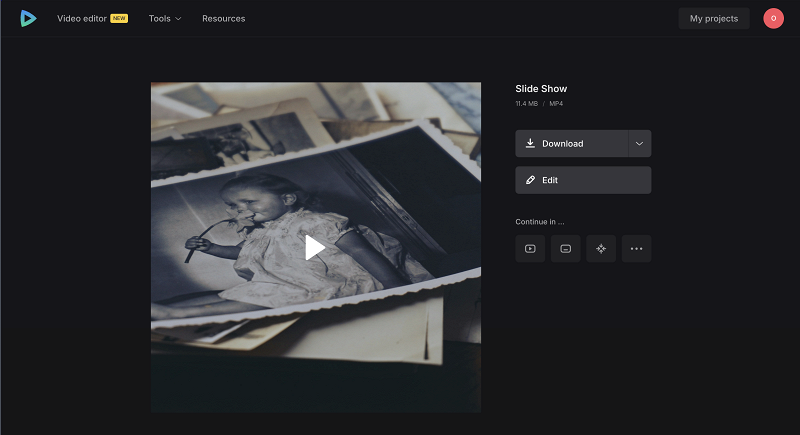
And all is done! Don’t forget to watch the playback to make sure you like the result. After that, download the result to your device or cloud storage.
We regularly improve our tools to add new features or enhance your experience. Check our Help Center for the most recent instructions.


