How to Screen Record on Windows or Mac
Sometimes something interesting happens on your laptop, and you want to share it with others. Find out how to easily record your screen!

How to record your screen with audio
Screen recording with or without audio may be needed in a variety of cases. It can be used to visually show the configuration of a feature or application. It will also be useful for streamers and those who prepare guides and video instructions, shoot vlogs or make a game playthrough.
In general, there are many ways to use screen recordings. However, novice bloggers, let's players and speakers in online education don't always know how to make a video screen capture on laptops and PCs. Fortunately, doing it is not much more difficult than taking a regular screenshot.
If you're also looking for a simple and easy-to-use solution, our online tool will help! It can be used as a screen recorder and works on Windows 10, 11 and others, as well as on Mac. The process of recording is very simple:
Start the project
Open Clideo’s online Screen Recorder and click "Get started".

Scroll down the navigation sidebar, if necessary, to see and click "Record".

Then select "Screen".

If prompted, allow your browser to access your microphone – you can simultaneously record audio from the device and your own voice. If needed, you can switch to another microphone or turn it on/off in the Settings of the recording pop-up window.

If you encounter problems recording audio, such as it not being recorded at all, this may occur due to a lack of access on a device level. To fix it, go to the settings on your device and give the necessary permissions to your browser.
Record the screen
Click the red circle to start a recording session. It will begin after a 3-second countdown, and you can click anywhere to cancel the recording process before it ends.

Select the part of your screen you want to record in the pop-up window that will appear after the countdown. You can pick a separate tab in your browser, the window of a specific app, or the entire screen. Tick the "Share tab audio" checkbox to include the audio from your recorded screen. Then, click "Share" to start recording.

The recording will start and you will be transferred to the tab you are recording. When you are done showing what you want, click "View tab clideo.com" to navigate to the screen recorder.

While recording is going on, you can click the "Pause" button to pause the recording, then click it again to continue. To redo the recording, click the "Retake" button to the left while discarding the current one. Click the "Stop" button in the middle to stop and save the recording.

In the next pop-up window, you can review, rename, redo, and add the video straight to your project timeline or "Uploads". The screen and voice recordings will be added as two separate files.

When every file needed is placed on the timeline, you can edit them separately by clicking them and adjusting the available settings.

When you finish editing, click "Export" at the top right and choose your preferred option.

-
Record and edit easilyCapture your screen and polish the recording with simple editing tools.
Save the recording
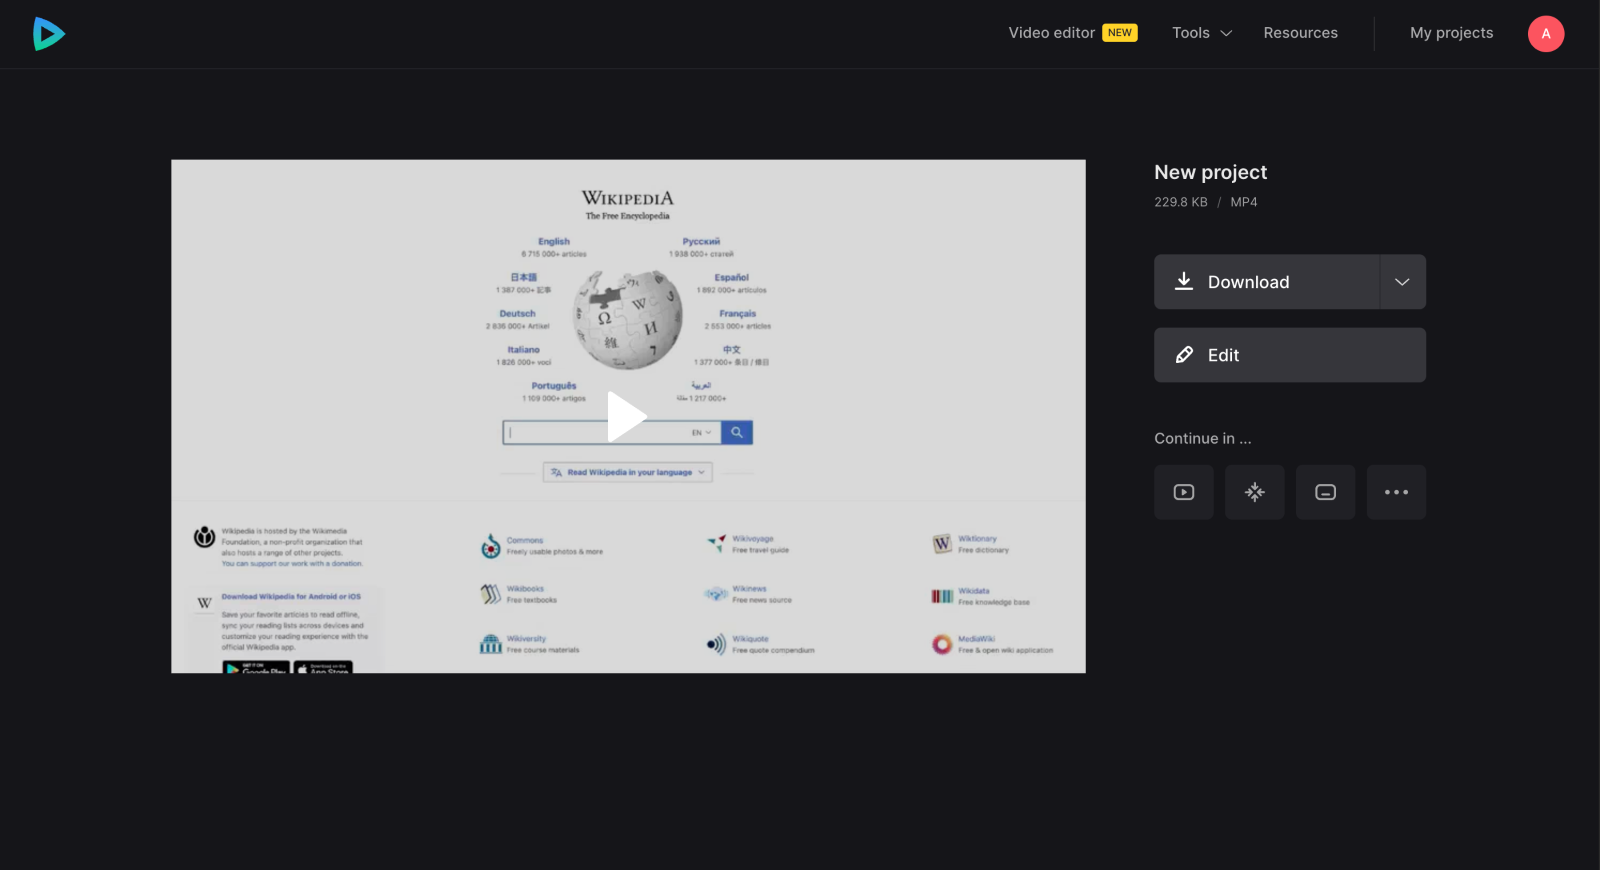
After processing, you can see the final result. If everything is good, click "Download" to save the screen recording to your device or cloud storage.

We also have Help Center where you can find all the information about our tool.


