
How to Use AI to Edit Photos
Photo editing no longer has to begin with a maze of layers and a tutorial explaining where that magic tool to hide some mess is. To use artificial intelligence to edit photos, you can just upload an existing image to a generative AI photo editor such as Clideo, describe the changes you want in plain language, and let the tool create a new version based on that guidance.

This approach works well for casual content creators, social media managers, small business owners, educators, and marketers who want fast, browser-based editing without installing desktop software. It is useful for creative transformations, background replacement, changes to a setting or color palette, and new interpretations of existing images – edits that would otherwise take more skill or time in a traditional editor.
AI photo editing differs from precise manual retouching: the AI image editor generates a new image rather than changing individual pixels under your direct control. Below, you'll see how AI image editors work, how to choose a good reference image, how to write prompts that preserve important details, and how to use Clideo for AI image editing.
What is AI photo editing?
AI photo editing can actually refer to various types of photo editing tools. Some automate traditional adjustments such as color correction or image enhancement. Other AI image editing tools use generative AI to create or replace visual content from a text prompt.
The Clideo tool described here includes reference-based generation. You upload an existing photo as a reference image and tell the selected AI model what you want to change. The source provides visual guidance, while the prompt describes the new result.
For example, you can request a different environment, season, lighting, color palette, visual style, clothing detail, or object. The model then generates a new image inspired by your uploaded reference.
This is not the same as selecting an object with a mask, editing layers, or applying a traditional filter. The result may reinterpret details that you did not explicitly ask to change, so careful review is essential.
When should you use AI image editing?
Generative image editing is useful when you want to explore a visual direction rather than perform a measurement-level correction.
You might use it to:
- place a subject in a different setting;
- try another mood, season, or time of day;
- change colors or styling;
- use AI to transform photos into an illustration or another art style;
- create a new product concept;
- adapt an existing visual for a video project;
- experiment with several creative approaches.
Manual photo editing tools may still remain better for precise cropping, subtle tonal corrections, carefully masked adjustments, or situations where every detail must remain unchanged. An AI photo editor is better suited to generative changes and creative exploration. AI editing and traditional editing are not rivals forced into a dramatic final duel; they solve different problems.
What makes a good reference image?
The source image affects how well the model can understand the subject and composition. It is important to choose a clear photo with enough resolution to show the details you want to keep.
For stronger guidance:
- use a source with a clearly visible main subject;
- avoid images with unnecessary clutter around important objects;
- make sure lighting does not hide key features;
- decide which details must remain recognizable;
- upload an image you have the right to use.
With low-quality photos, heavy compression, or visual confusion, AI enhancement has clear limits, even though some tools can improve image quality up to 25 megapixels. AI-powered tools can invent new pixels, and sometimes artificial intelligence can detect subjects automatically to isolate elements, but they still cannot reliably recover information or detail that was never visible or captured.
How to use AI to edit photos with Clideo
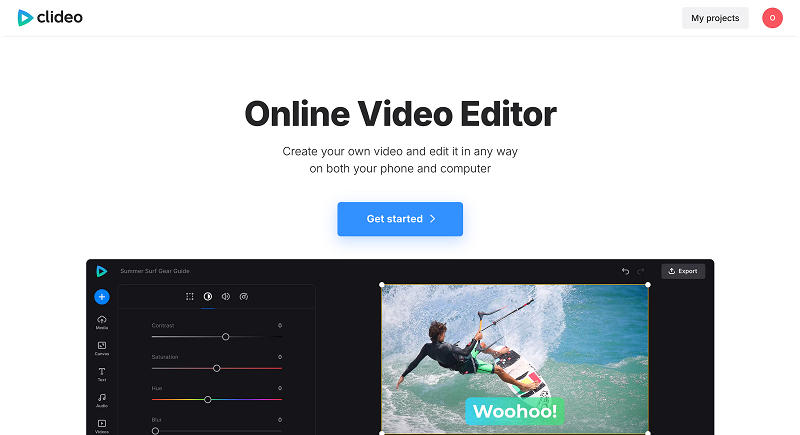
So let's try editing a photo with Clideo, an online video editor with multiple AI-powered features that offer an intuitive interface for creative transformations in just a few clicks. Clideo is a perfect all-in-one platform for everyday users who want to make quick edits without advanced design skills or software installations.
-
Decide what should change
Before you upload the photo, take a moment to do some quick planning: make two simple lists – one for what you want to keep the same, and another for what you'd like to change.
For example:
- Keep: the person, pose, red coat, and portrait framing.
- Change: replace the city background with a snowy forest and use soft winter light.
This separation helps you write a more focused text prompt and makes it easier to evaluate the generated result.
-
Open the AI image editor
Open Clideo's AI Image Generator, which lives in Clideo's Online Video Editor. Start a project, click the Generate button, and select the Image tab.
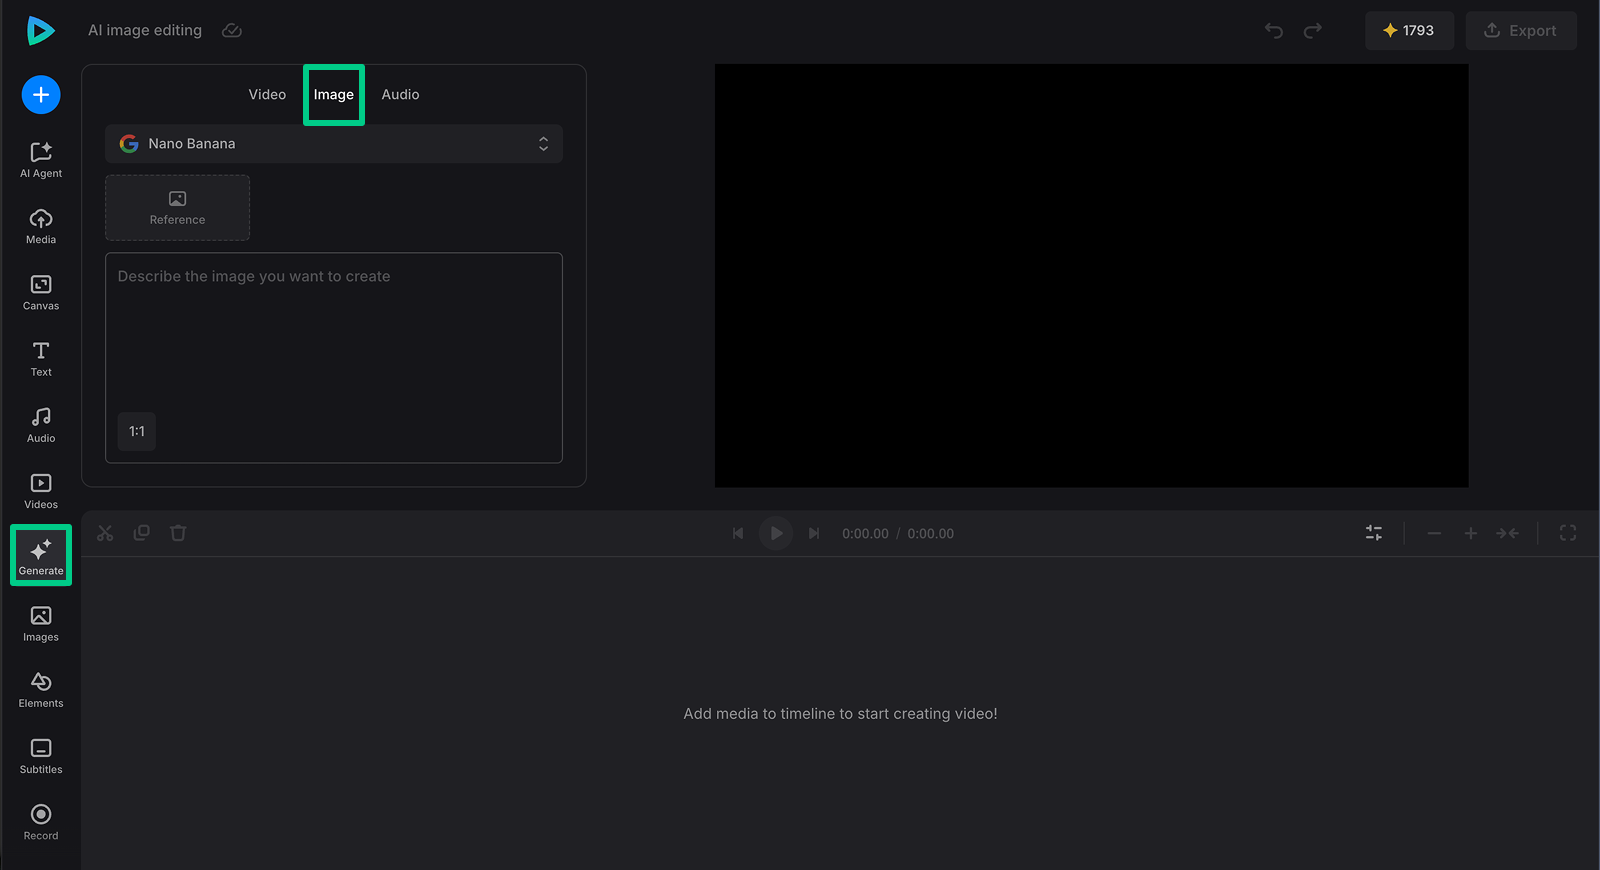
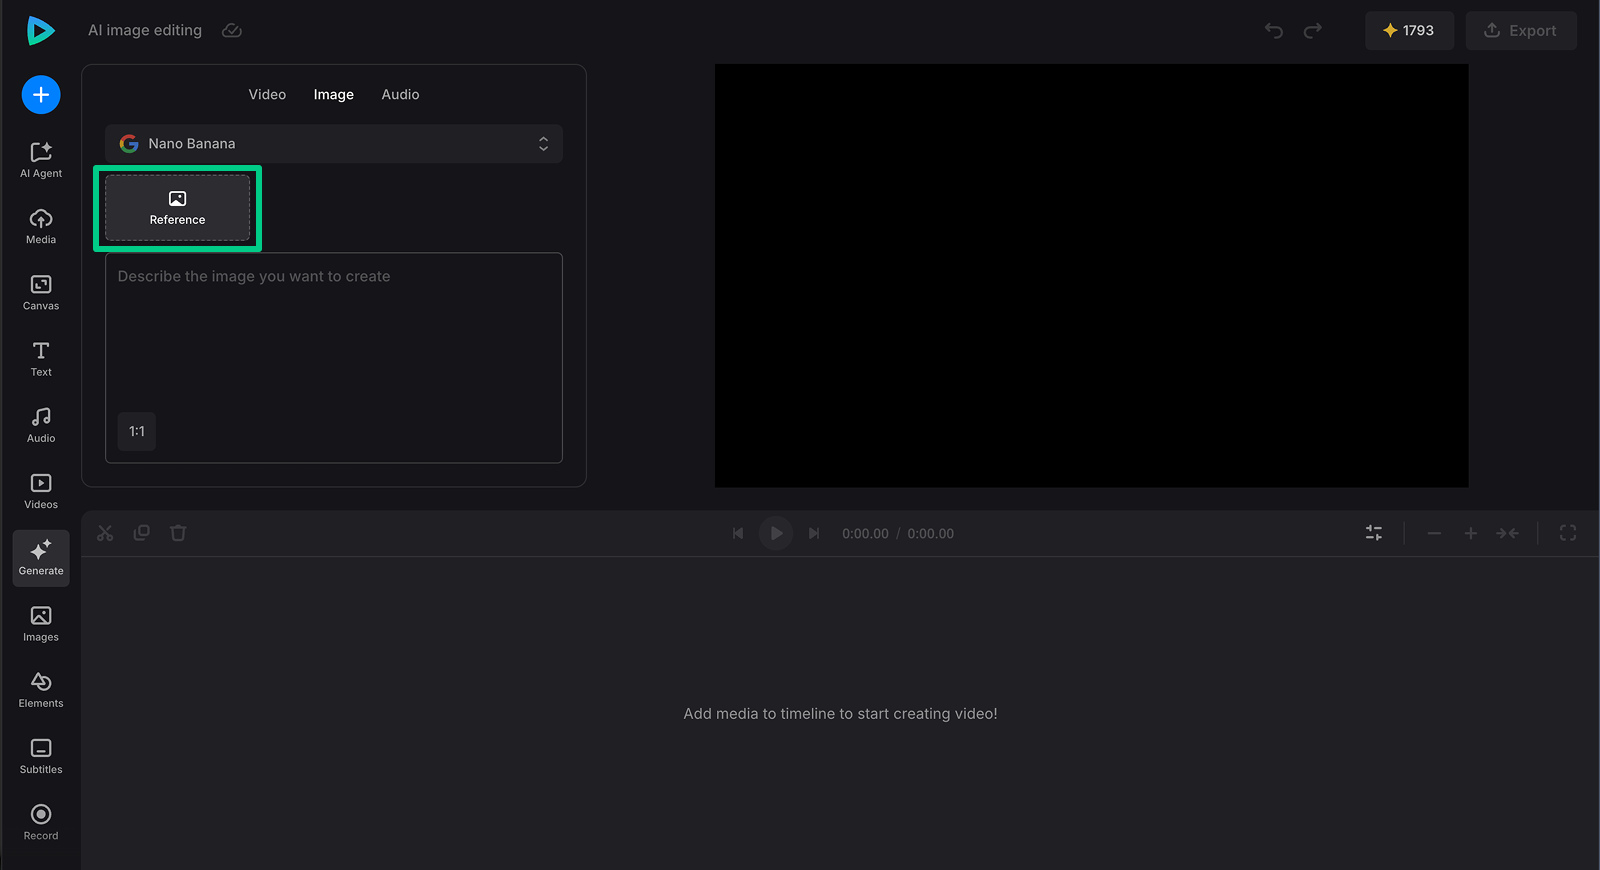
To edit an image, you will use the AI image editor workflow, meaning that in the AI Image Generator you will select a model, add a reference photo, and request changes.
Clideo includes multiple AI models for image generation, but not all of them may support reference image uploads.
-
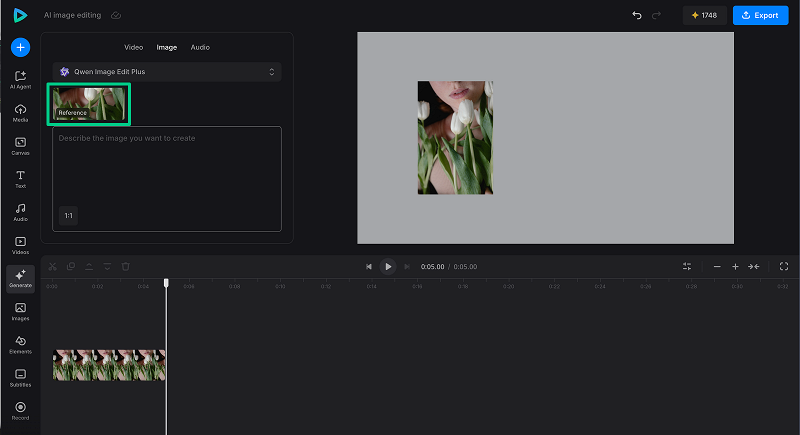
Upload the photo as a reference image
Add the source file in the reference-image field. You need to upload it from your device. Check that the uploaded photo is oriented correctly and that the important subject is visible. I will also add the same photo to the project timeline so we can compare the images later.
-
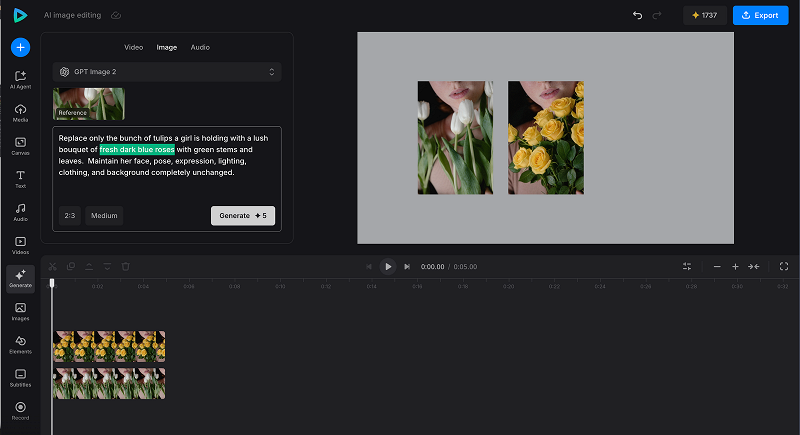
Write a natural-language prompt
Describe the intended edit directly. Start with the main change, then state what should remain recognizable.
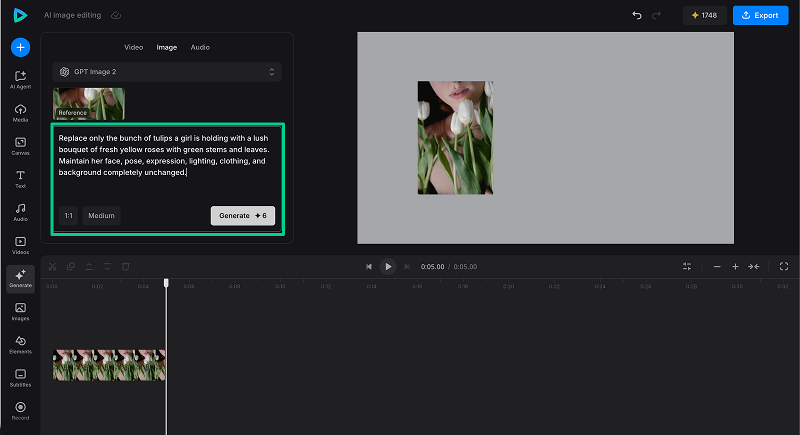
For example: “Replace the plain wall with a bright modern kitchen. Keep the person, pose, clothing, and camera angle. Use soft daylight and realistic colors”.
For a style transformation: “Turn this city photo into a detailed watercolor illustration. Keep the street layout and main building shapes. Use a muted blue and ochre palette with visible paper texture”.
-
Select the aspect ratio and quality
If the model has a separate control, choose a format that fits its intended use. Options can include square, portrait, vertical, landscape, and ultrawide ratios such as 1:1, 2:3, 3:2, 3:4, 4:3, 9:16, 16:9, and 21:9.
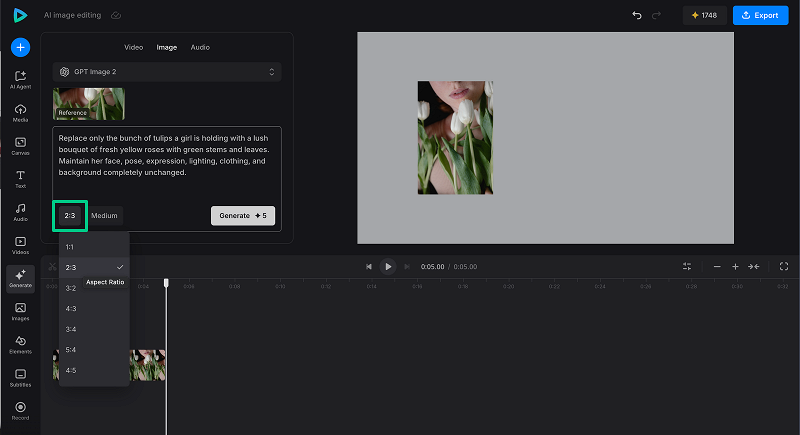
Changing the aspect ratio may affect framing or require the model to create content beyond the original photo. If preserving the composition is important, choose a ratio close to the source image. If you need extra room for a title, describe the desired subject placement in the prompt.
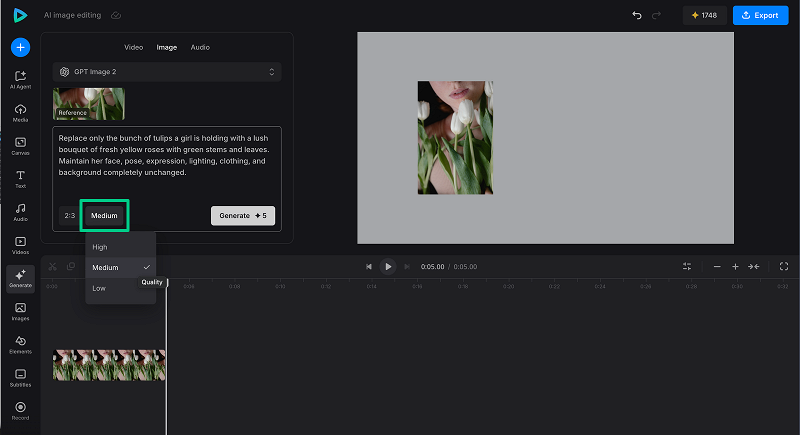
Some models also offer additional controls for image quality. You may want to experiment with a lower quality and then try a higher quality for your final prompt
-
Generate the edited version
Run the generation and wait for the new image to appear. Clideo currently produces one artifact per generation request. Review the entire result rather than focusing only on the requested change.
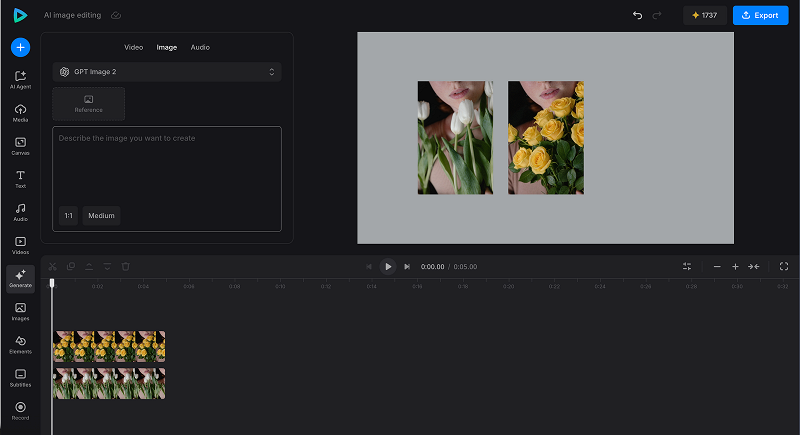
Check whether the output delivers high-quality results and whether the subject remains recognizable, whether edges and small details look natural, and whether the new setting, colors, or style match the prompt. Pay special attention to faces, hands, product shapes, logos, and text.
-
Refine the request
If the image is close but some detail is not quite right, update one or two instructions in your latest prompt, such as lighting, color, or placement, then generate again. Be a bit more specific about the problem:
- “Keep the original facial expression”.
- “Use a darker blue, not teal”.
- “Move the plant behind the chair”.
- “Preserve the original product label and bottle shape”.
-
Add the image to your project
Use the generated image in the Clideo Video Editor alongside your footage, text, music, subtitles, narration, and other media to create video content, product shots, or other creative projects in Clideo. It can serve as a background, a full-screen visual, or part of a slideshow.
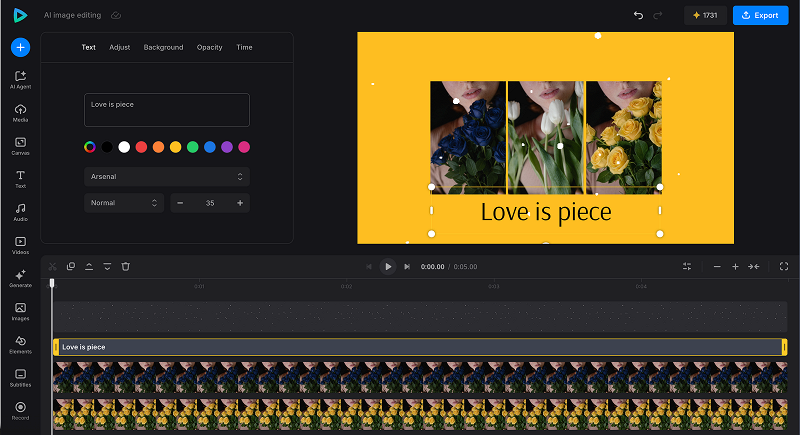
When the composition is complete, export the final video in the available format and quality. Click the Export button in the top-right corner and select the export quality you need.
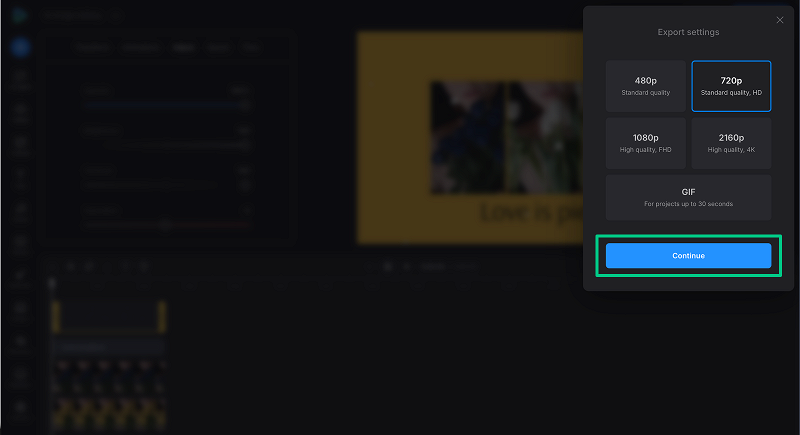
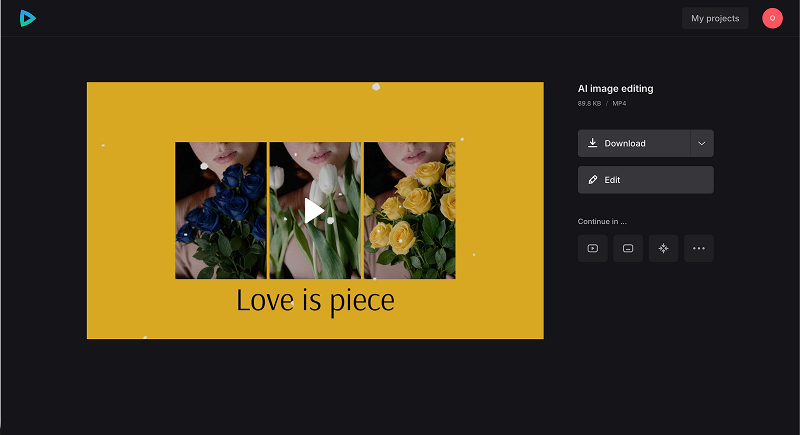
Finally, review your project with AI images one more time. If everything looks good, download it to your device. If you would like to make any changes, click Edit.
How to prompt AI to edit a picture
Prompts are really important. Being precise and specific helps you get better results, so take your time to craft clear instructions (or ask another generative AI to help you craft a better prompt).
Describe the change first
Lead with the main instruction: replace the background, change the lighting, restyle the scene, or alter a specific element. The model should not have to search through a long paragraph to discover the actual task.
State what must remain the same
Reference-based generation can reinterpret the entire image. Name the elements that should remain recognizable: subject identity, pose, object shape, composition, colors, or camera angle.
Use visual rather than subjective language
“Make it better” does not explain what better looks like. Try “use softer window light, reduce visual clutter, enhance images by cleaning up noise, and enhance quality with sharper detail in a warm neutral palette”. Concrete visual details give the model a clearer target.
Avoid too many edits at once
Changing the setting, pose, clothes, weather, art style, camera angle, and every object in one request makes it difficult to judge what worked. Split a complex idea into separate generations.
Be careful with removal requests
You can ask a generative model to replace objects or create a version without unwanted objects, but this differs from a dedicated object-removal tool with a selection mask. Describe what should replace the unwanted elements and inspect the reconstructed area carefully.
Preserve space for later design
If the image will include a title, logo, or caption in the video editor, ask for negative space in a specific area. For example: “Keep the subject on the right with a simple background on the left for text”.
Respect limitations
When writing prompts, avoid requesting harmful, offensive, or inappropriate content. AI models are designed with safeguards to block such requests, so prompts asking for harmful edits might not work. This helps ensure ethical use of AI photo editing and protects users from generating problematic images.
Common AI photo editing mistakes
When you have a great prompt ready, go through a short checklist to make sure you avoid the following common mistakes:
- Not identifying what should stay. The model may reinterpret more of the photo than you expected.
- Using an unclear source image. Hidden or compressed details are difficult to preserve.
- Giving vague instructions. Asking AI to edit or improve images without specifying the desired change is usually too imprecise, though the results can sometimes be fun.
- Requesting many unrelated edits. Use a simpler prompt and iterate if possible.
- Expecting exact local retouching. Generative editing creates a new version and may alter nearby details.
- Ignoring the aspect ratio. A different canvas can change the composition.
- Skipping the final review. Always check faces, hands, products, text, and fine edges before use.